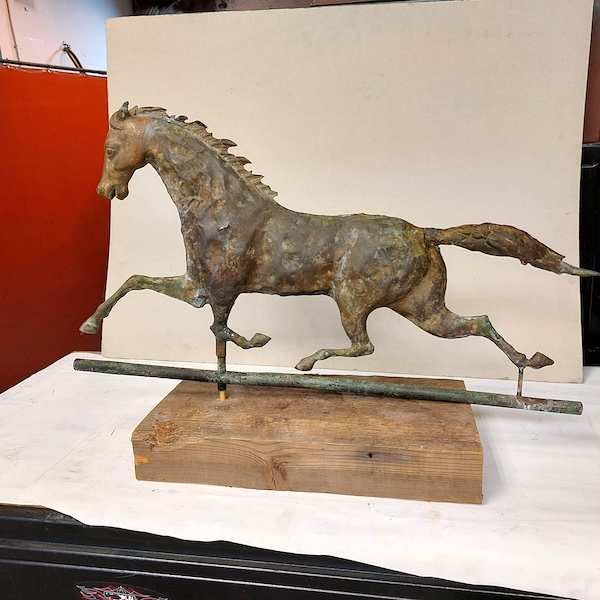
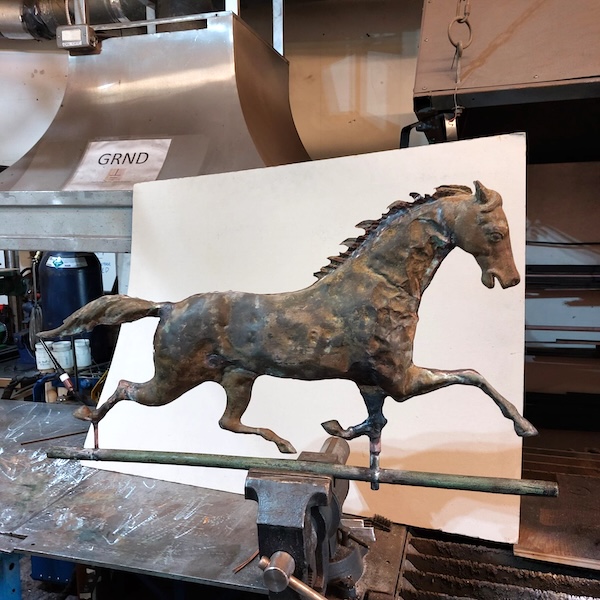
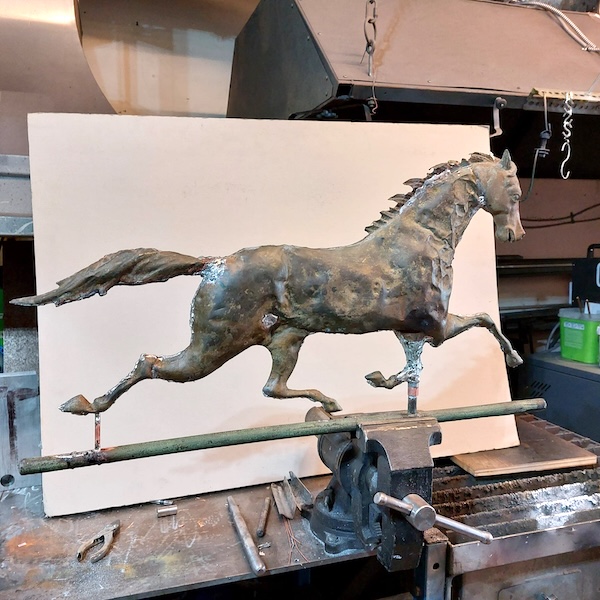
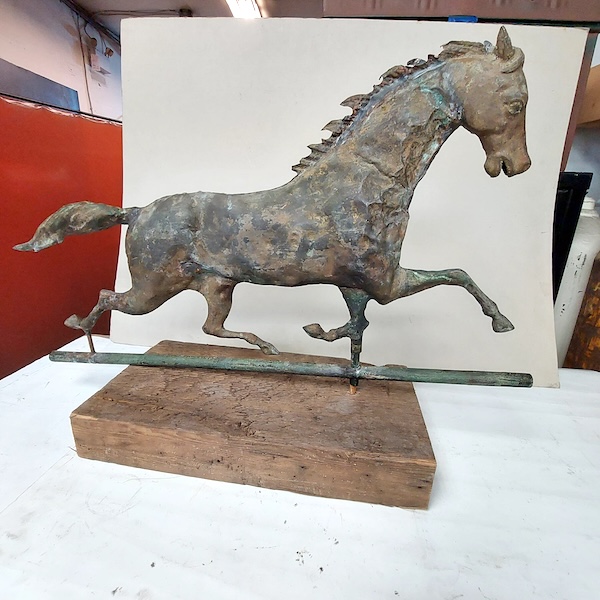
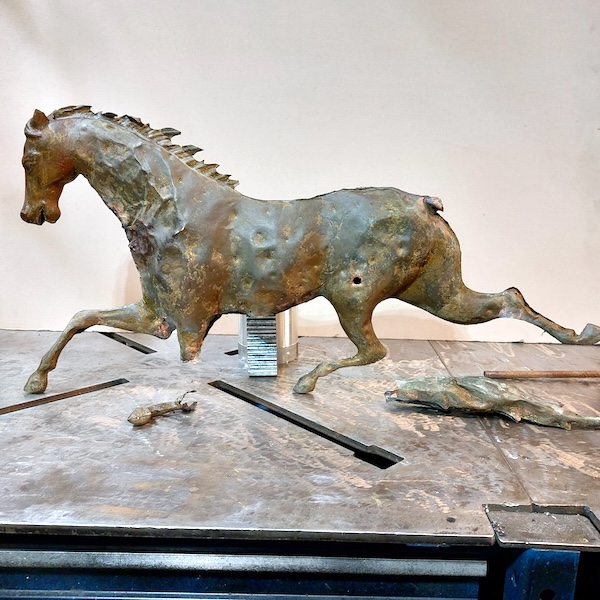
An 1880 horse weathervane was in for restoration and repair. Unlike most of my weathervane repairs, this horse would not be going back onto a roof. The owner wanted it mounted onto a base so he could showcase it on a mantlepiece.
Materials
Processes
damage
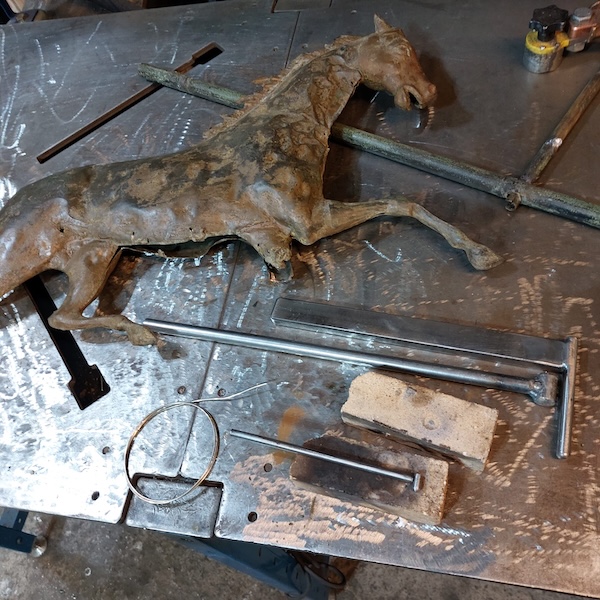
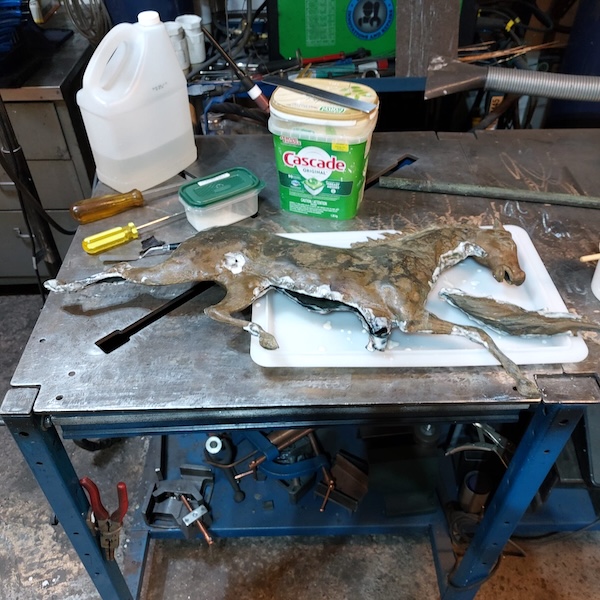
The horse was split in many different areas and tied together with wire at various points. It needed a lot of work. Its tail was broken off, one ear was missing, the main swivel column leg was missing a knee, the hoof required fixing, and the mane was fragile, splitting and breaking into pieces. Additionally, numerous perforations in the body needed to be filled. Lastly, the horse needed a new swivel pole to attach to the base.
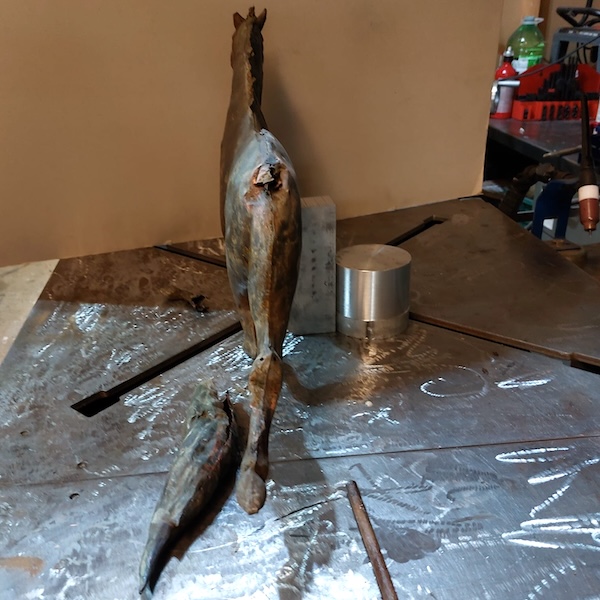
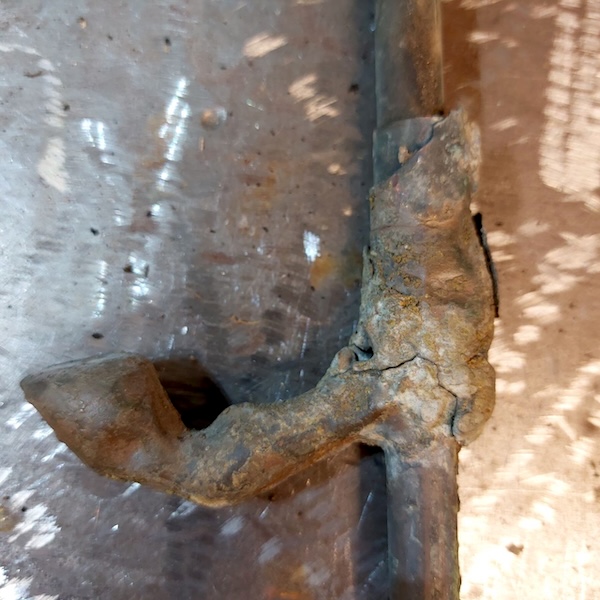
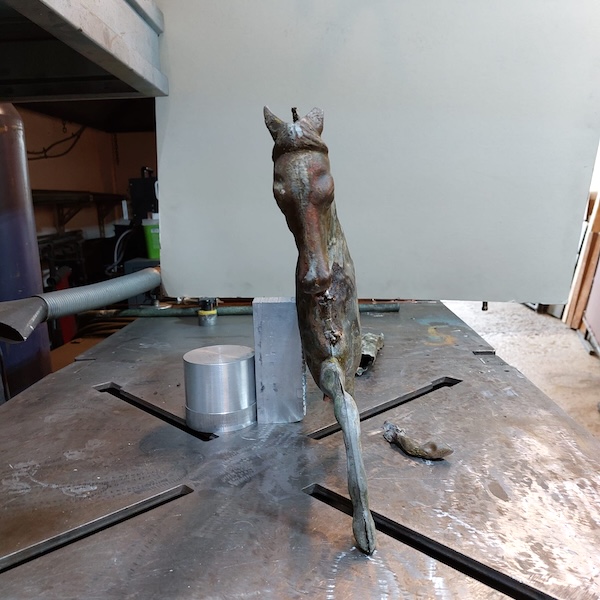
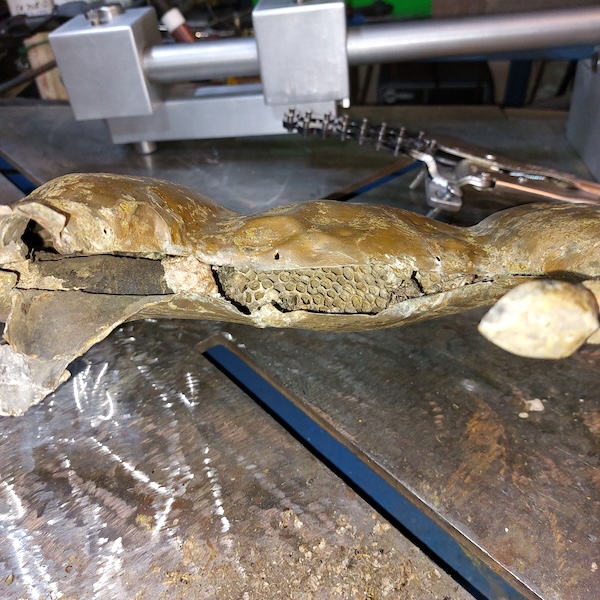
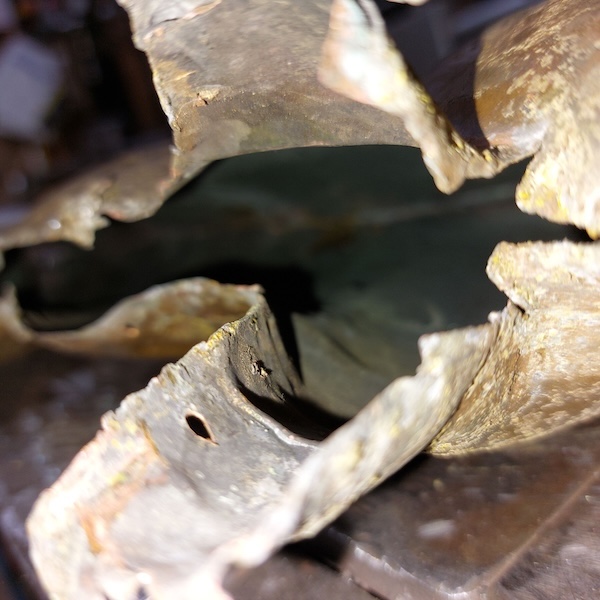
A wasp nest inside the horse
One never knows what one will find with a restoration. The big surprise was finding a wasp nest from nose to tail tip and down the legs within all the cavities of the horse. And it was a heavy nest! This wasp nest factored in splitting the horse apart. Freezing rain also would have expanded the metal.
Once I split the horse open and pulled it apart, I removed the wasp nest to clean it thoroughly inside and out. Residual wasp and nest biomatter were still present, so a hot bath and some compressed air finished the task.
Below the two images of the wasp nest and the opening of the cavity, you can see the unique hammers I use to get into tight areas.
SOLDERING THE HORSE TOGETHER
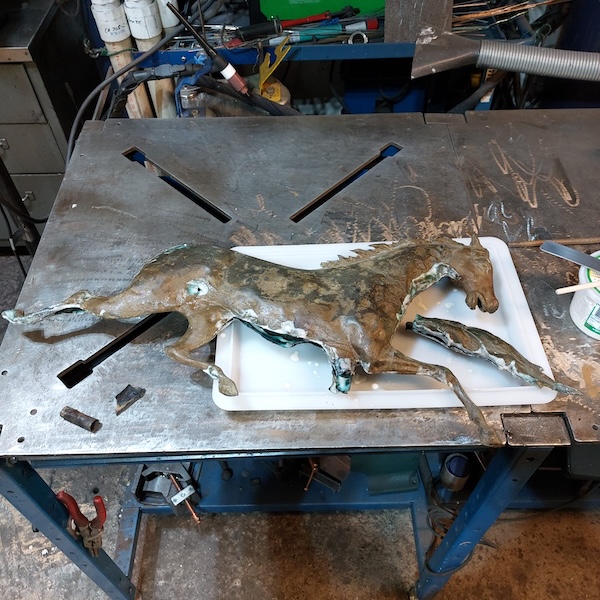
By cleaning and etching the copper edges to a bright finish, I prepared the surfaces for soft soldering. I patched and sealed holes and all broken edges with soft solder, ensuring that I retained and mimicked as much of the original patina in the repaired areas.
Rebuilding the parts
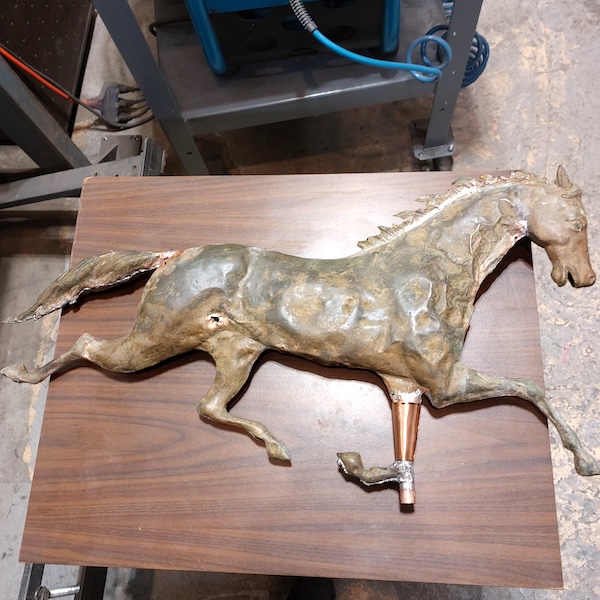
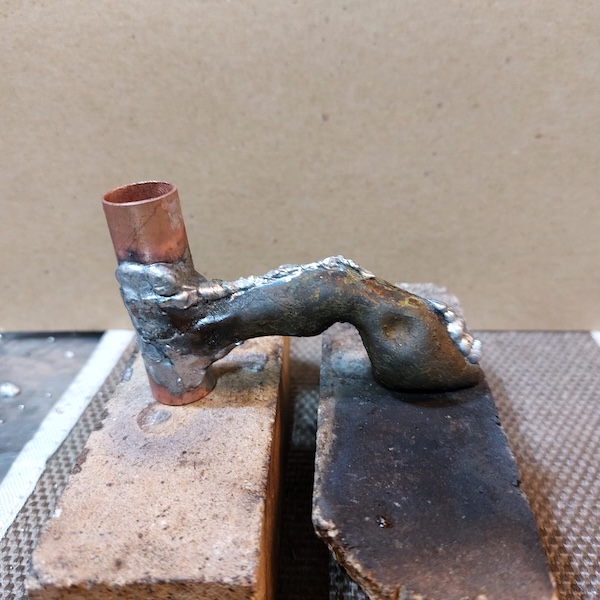
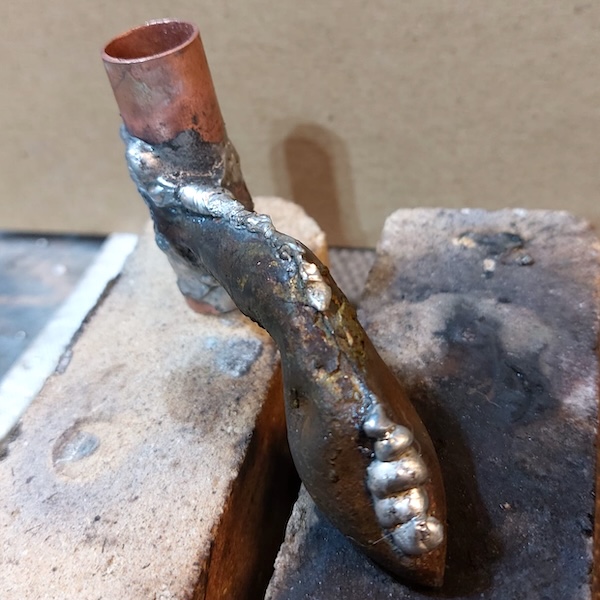
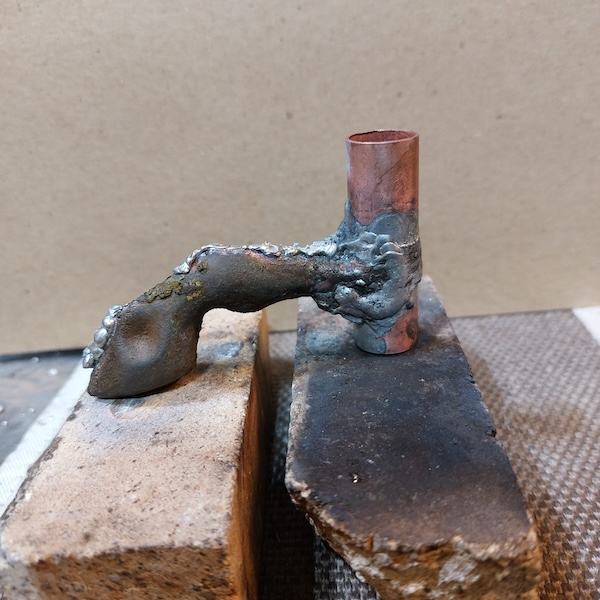
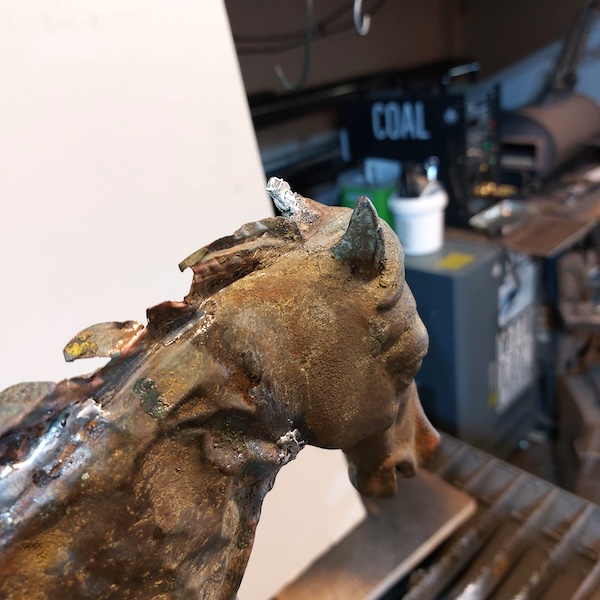
I used soft solder to add muscular detail to the front leg and to build up the broken cast-iron ear.
The copper cone on the front leg helped me form muscular detail. I then created a kneecap for the leg that wrapped around a pivot post.
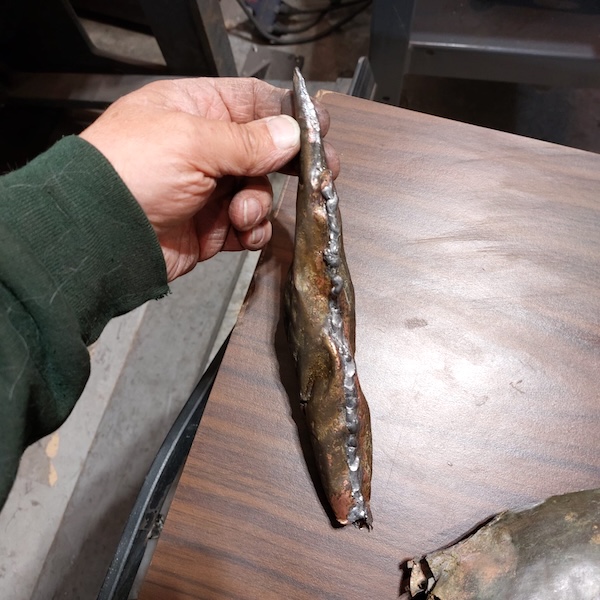
Next, the leg and tail were soldered and the body sealed from the ingress of wasps and other debris.
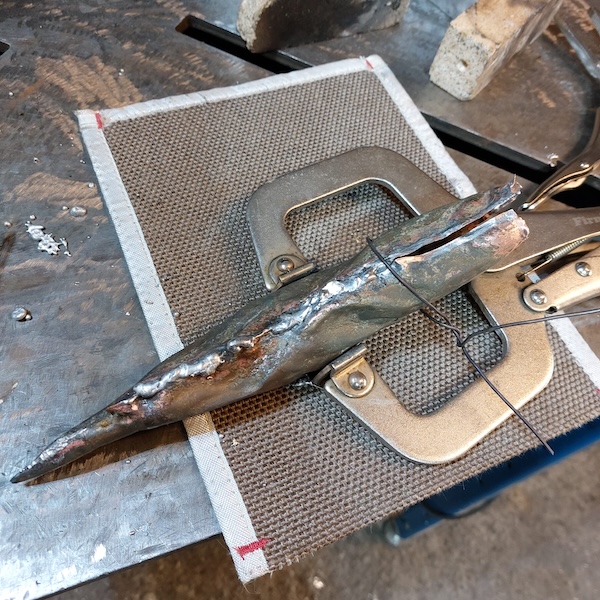
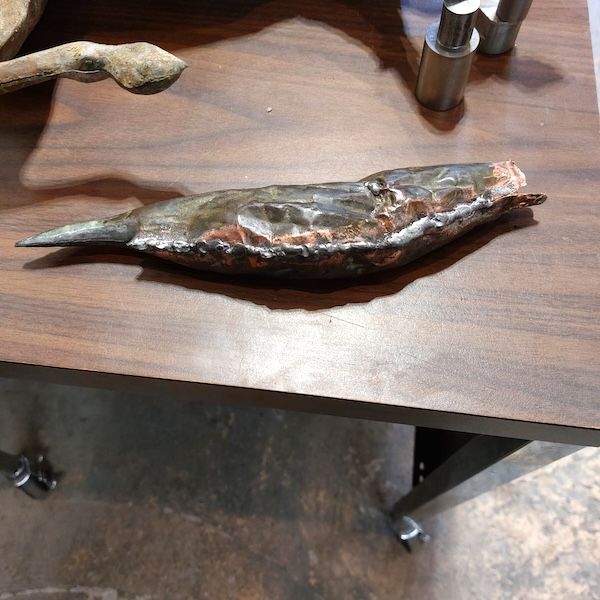
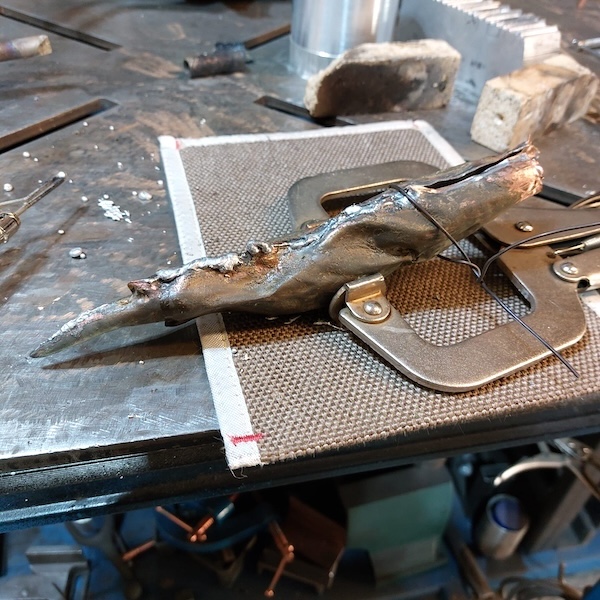
final stage
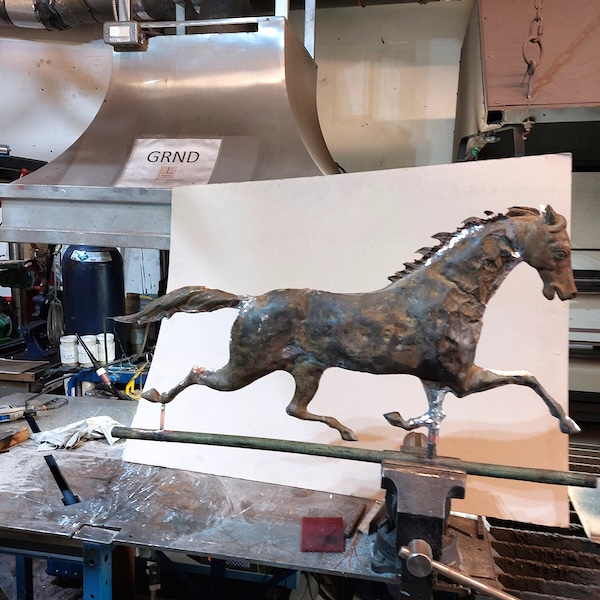
Once the horse was sealed, I had to dress the solder by grinding, rasping, rough filing, profiling, scraping, sanding, and polishing the soldered joints in preparation for working on the patina.
I created a new pigment and patina colouring using various chemicals and acrylic paint. Finally, I mounted the leg for this beautiful horse to revolve around. The weathervane was finally complete and ready for many more years of enjoyment.
