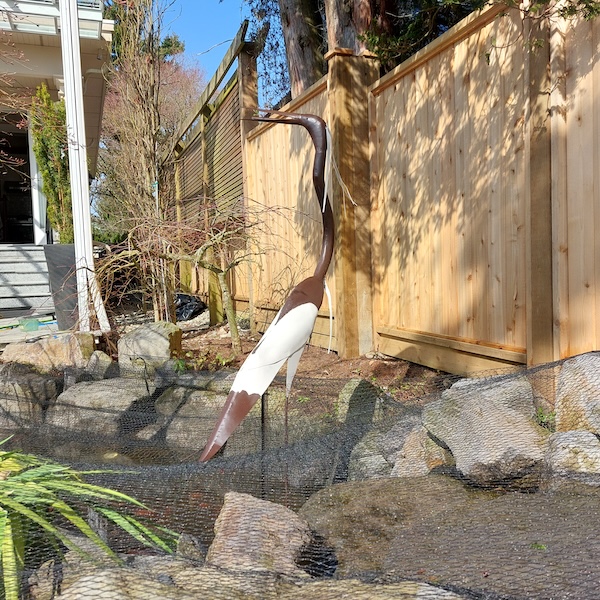
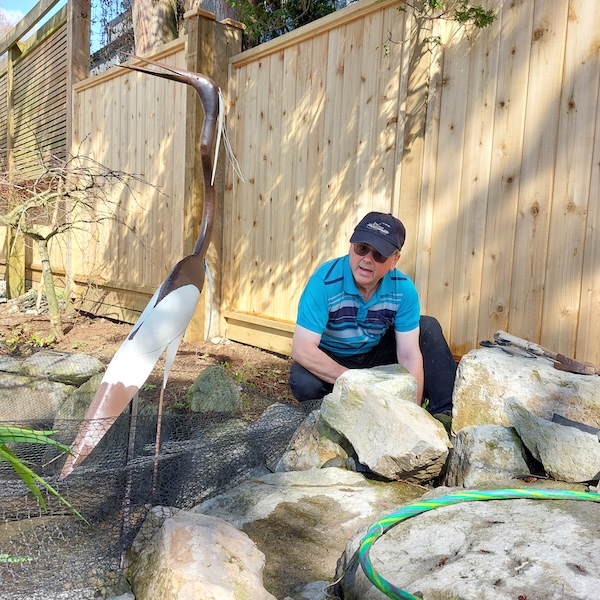
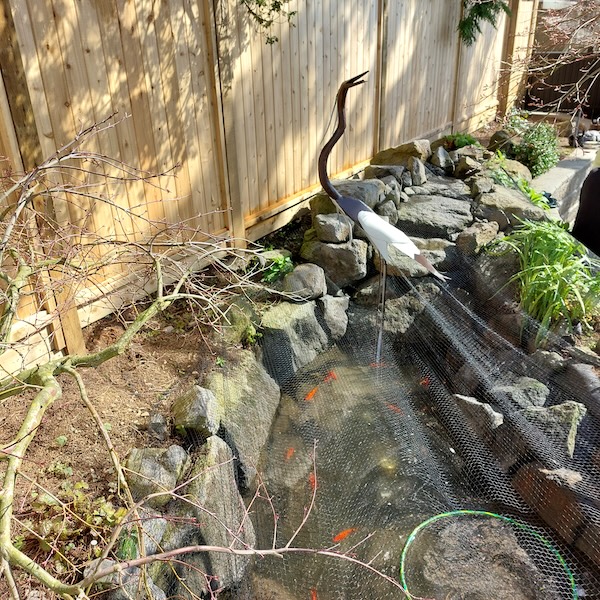
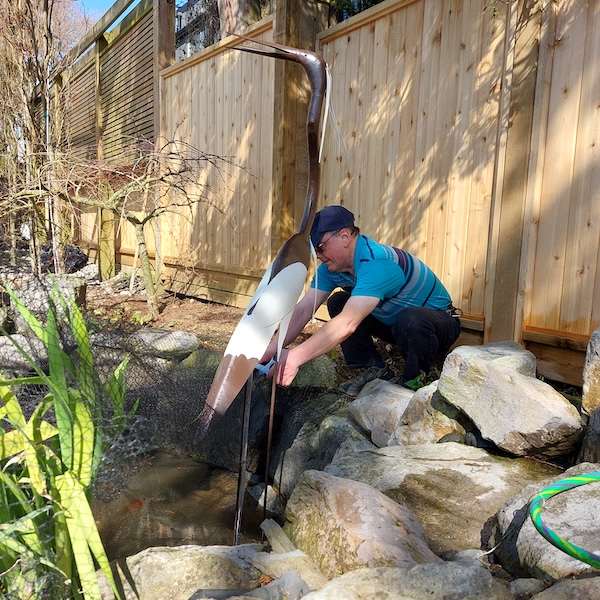
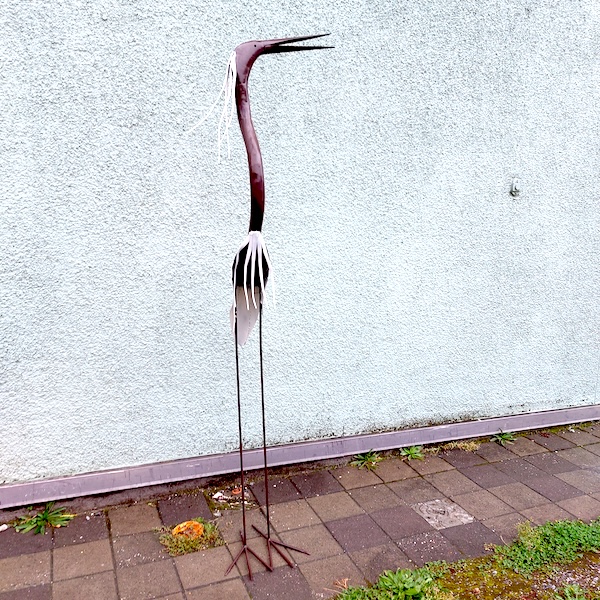
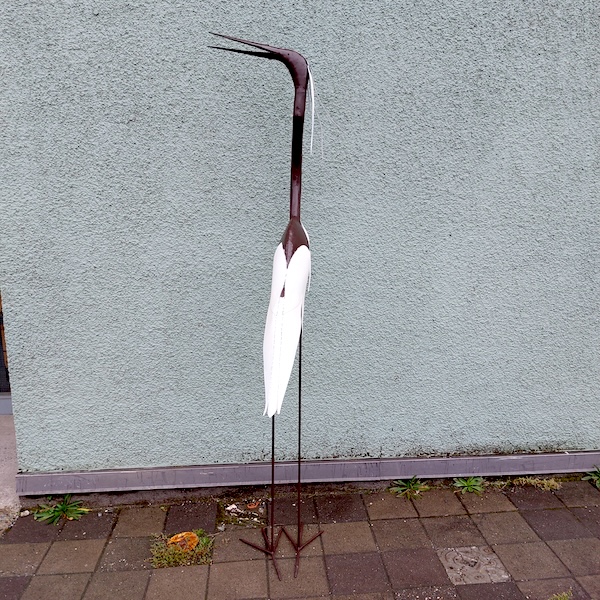
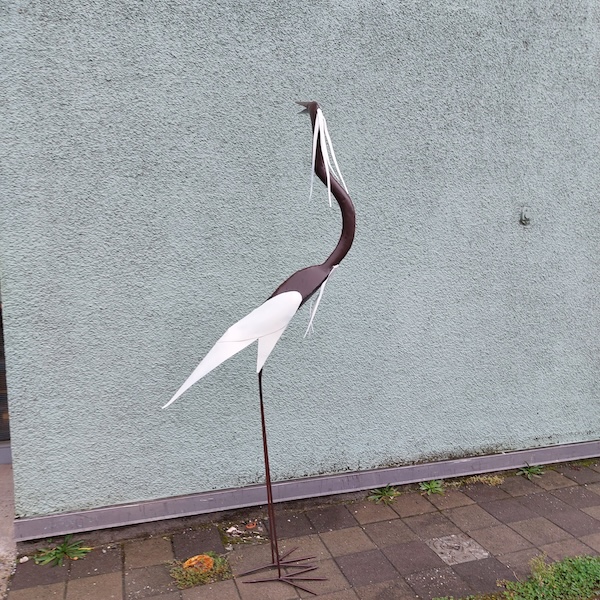
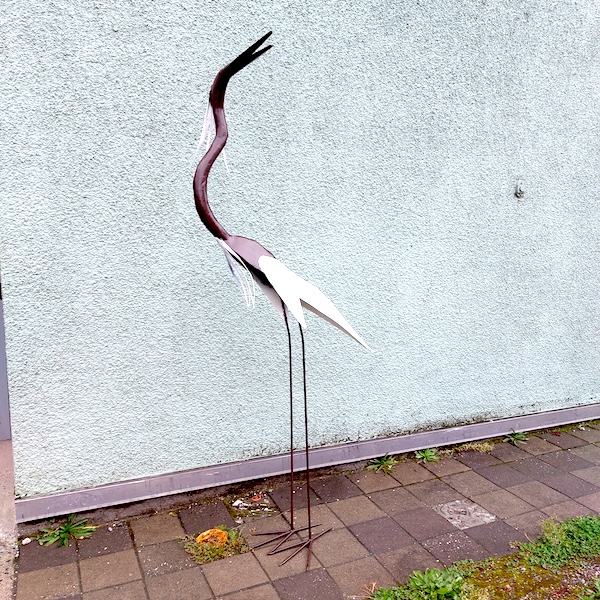
This unique steel stork water feature was a dream come true for my client. He had two small metal storks in his garden that he loved, and he wanted a 7-foot replica for his fish pond, with water cascading from its beak.
Materials
Processes
A beautiful result
The sculpture took many months. My client was not in a hurry and knew that art takes time. He came to me in late summer and did not plan to install the stork until the following spring. Below, you can see the images at each stage of the process. Hopefully, the photos will tell the story better than words can.
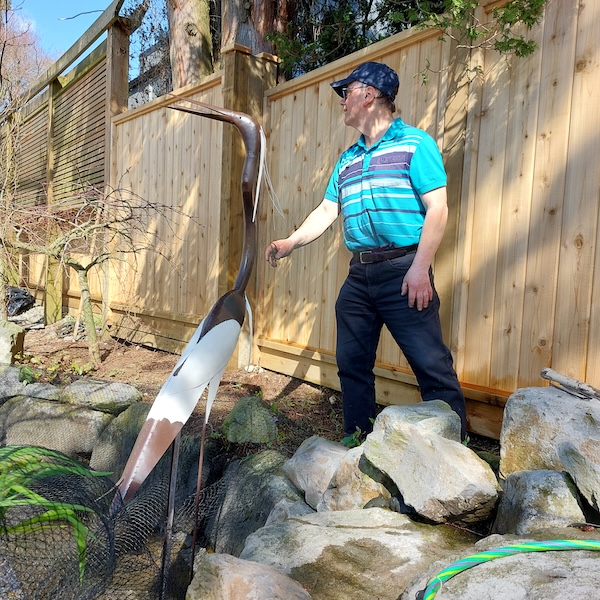
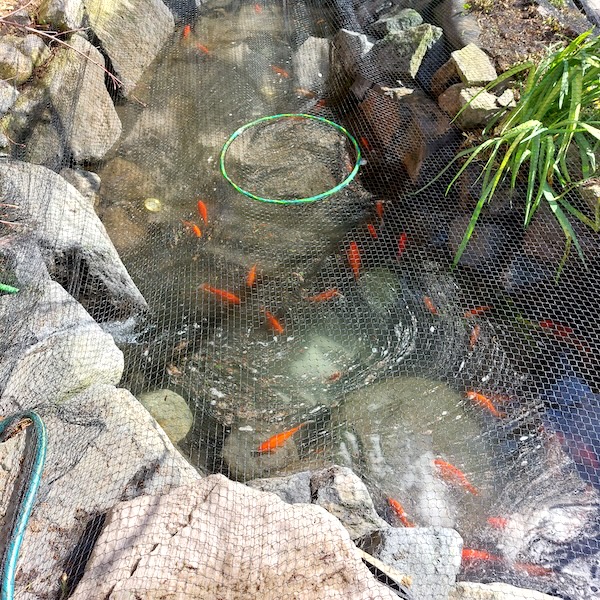
Plasticine beginnings
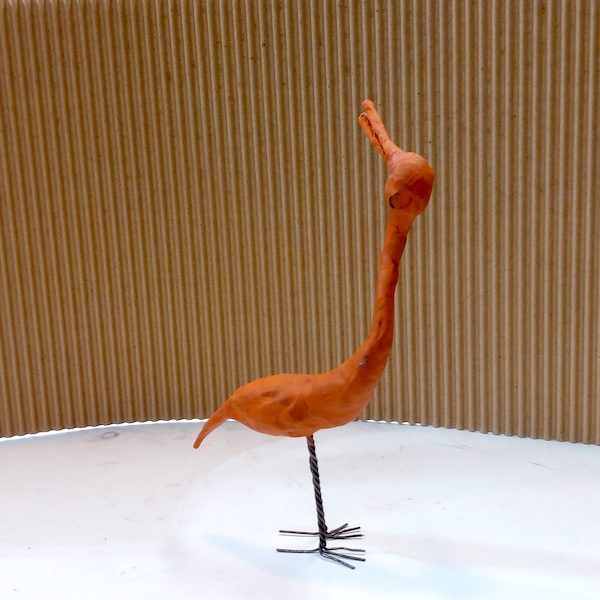
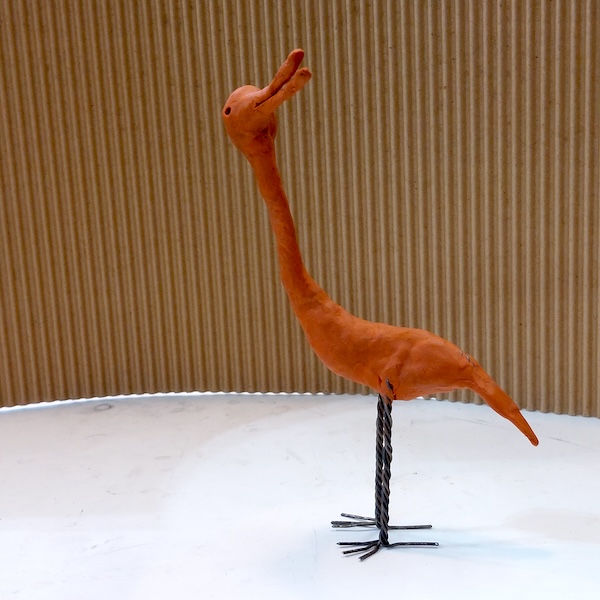
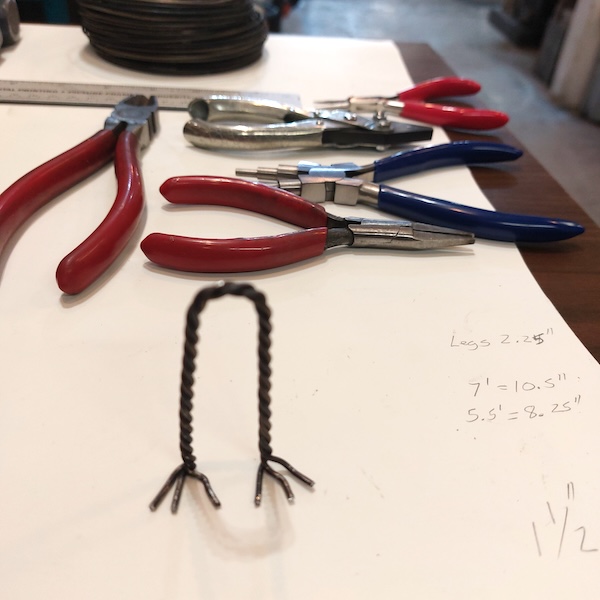
To get the general shape of the stork water feature for modelling the 7-foot version, I began with plasticine, followed by a mock-up Plaster of Paris version. I used Van Aken Plastalina Modeling Clay because it models easily, is nontoxic and is reusable!
Notice the legs specifically. The body and beak utilize a frame of rebar tie wire to support the modelling clay.
Paper mock-up and measuring
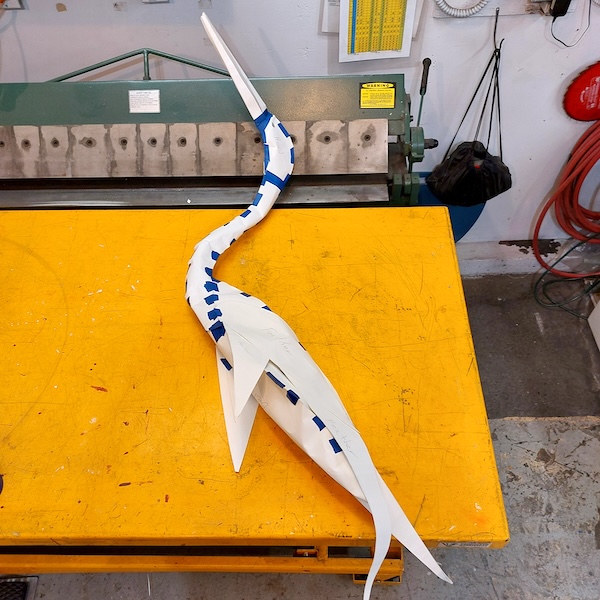
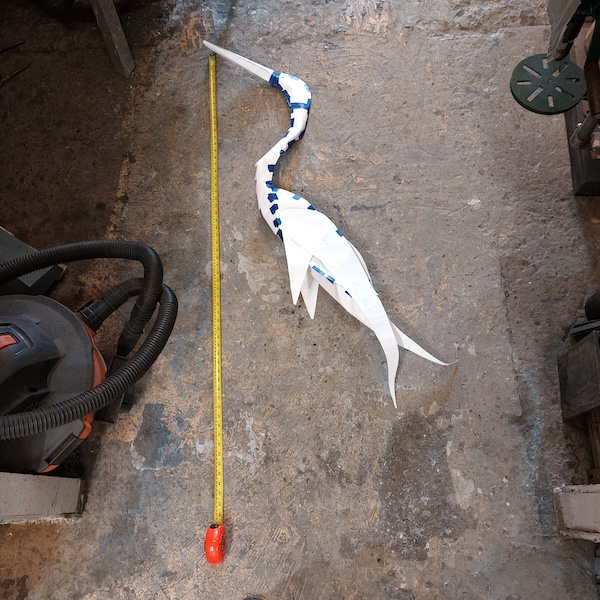
The 84-inch stork has its paper patterns cut, ready to transfer to sheet steel. I taped it all up to make sure everything would fit well.
Before I began fitting, forming, and welding, I had to wait for the pump and hose parts to arrive.
CHICKen wire and paper mock-up
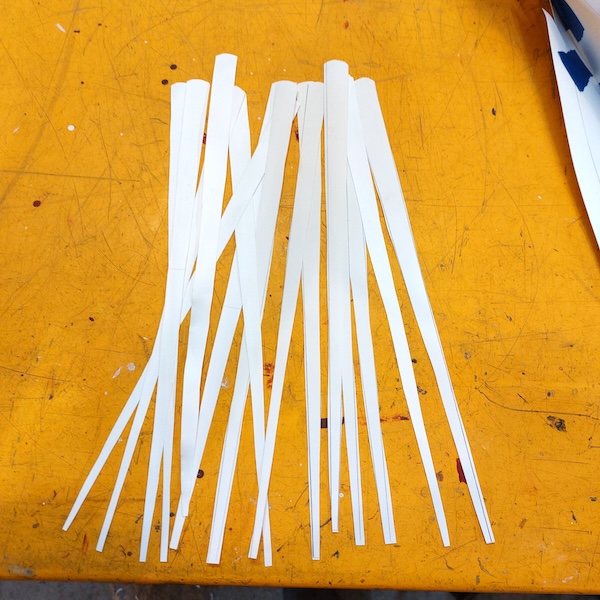
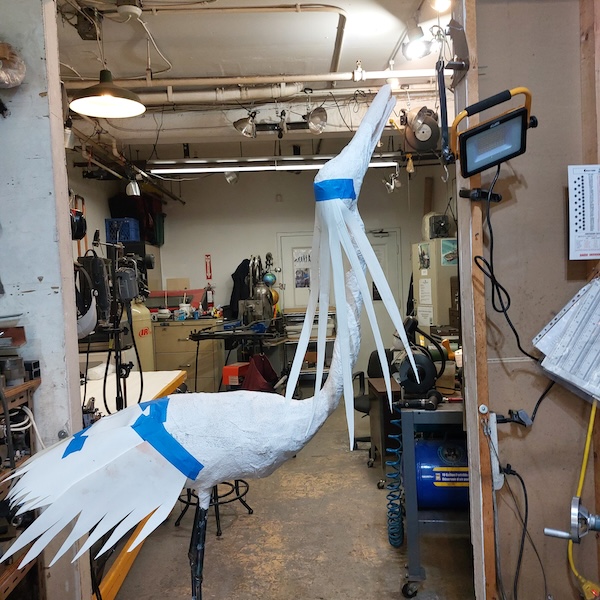
I mocked up tail feathers to see if the effect was right and later decided to make natural-looking feathers in steel rather than stylized feathers.
Plaster of paris to give it strength
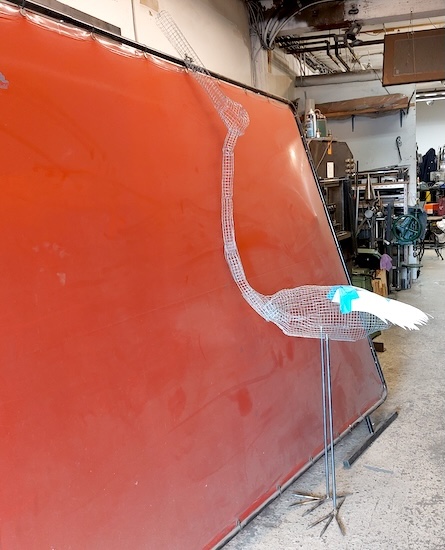
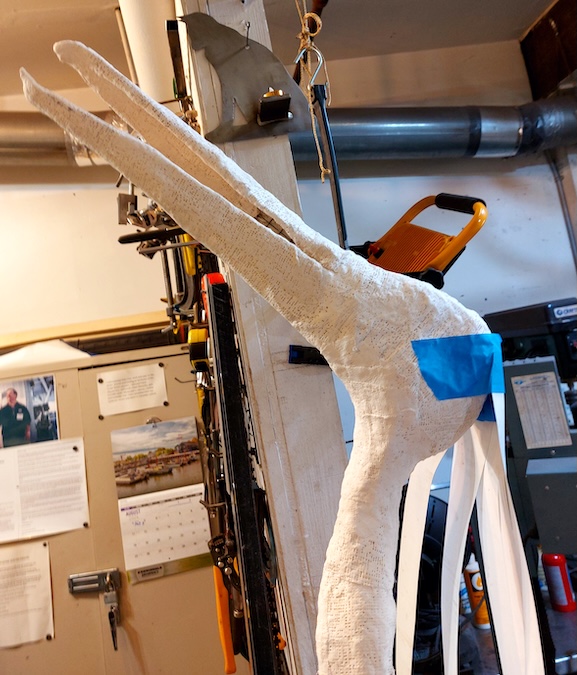
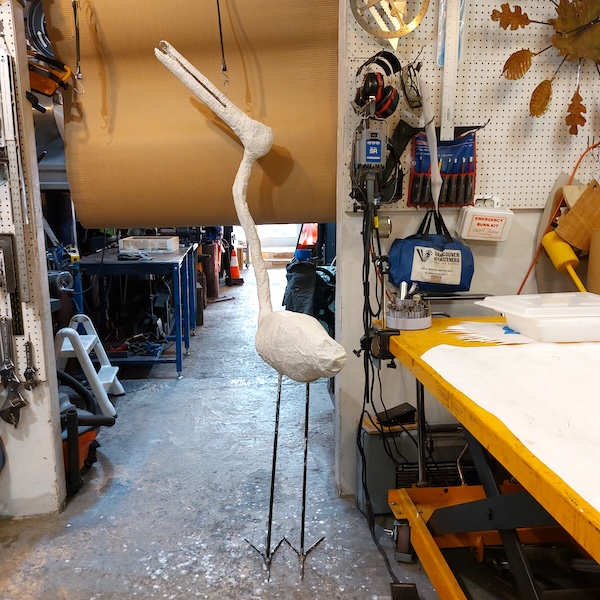
This plaster stork mock-up evolved. The neck went through more iterations before I started the steel form. The water had to get up to the beak area of the stork and I had to figure out how to do that and allow enough space in the neck for that to happen. The 1" water pipe would be attached to the back of one leg.
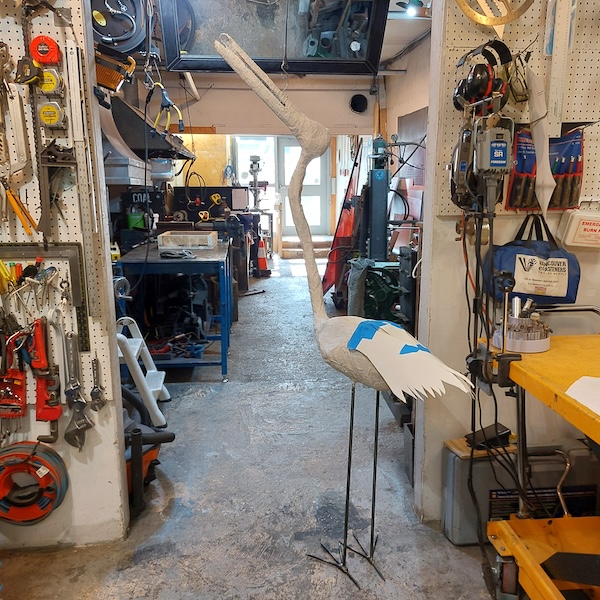
Trial LEGS
The legs were next. The pictures show that the bird was too tall. I shortened them later!
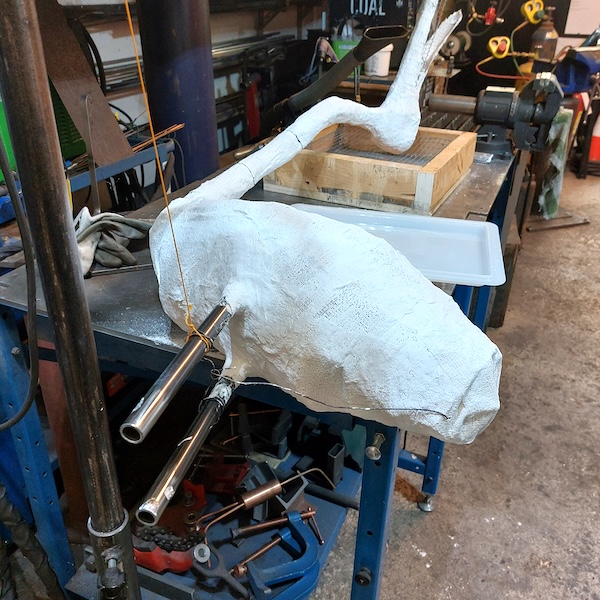
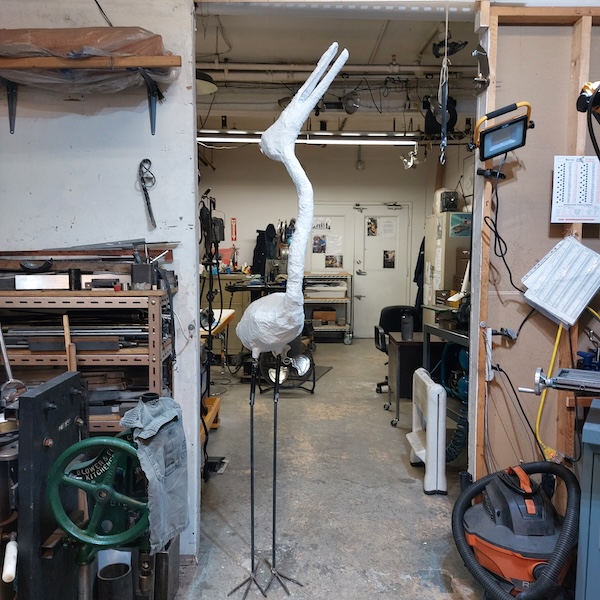
trial beak
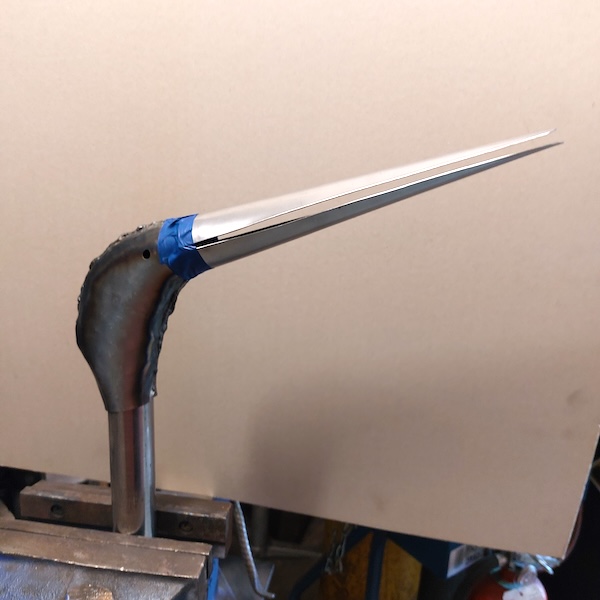
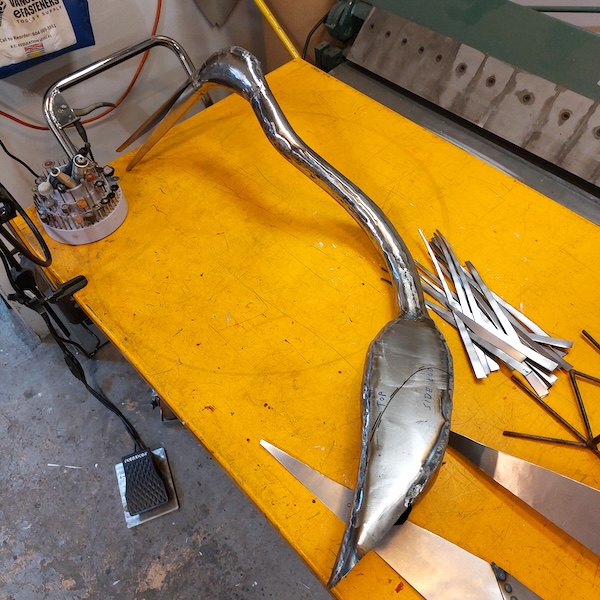
Welded steel neck and body
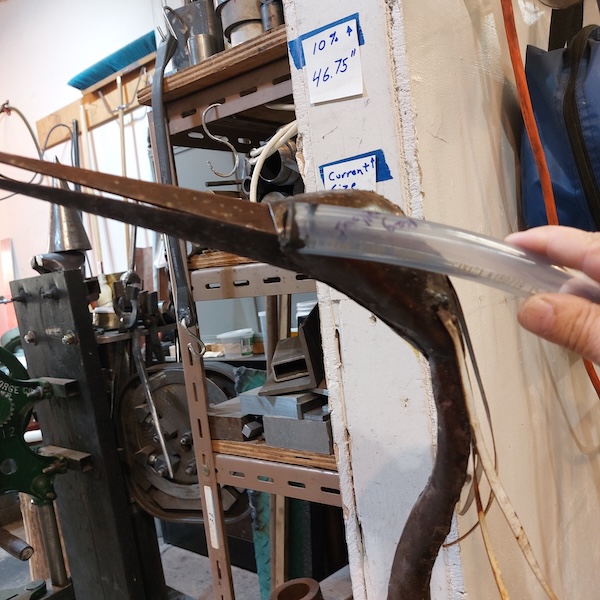
the pump's plastic tube fitting
Getting the right pump required research. Luckily, I found the pump locally.
The pump had to lift water at least 8 feet for a 7-foot stork and maneuver around a neck with twists and turns. It had to be controlled by a remote on-off wireless button. I used a 1" pipe size for water flow with a ball valve to control the flow.
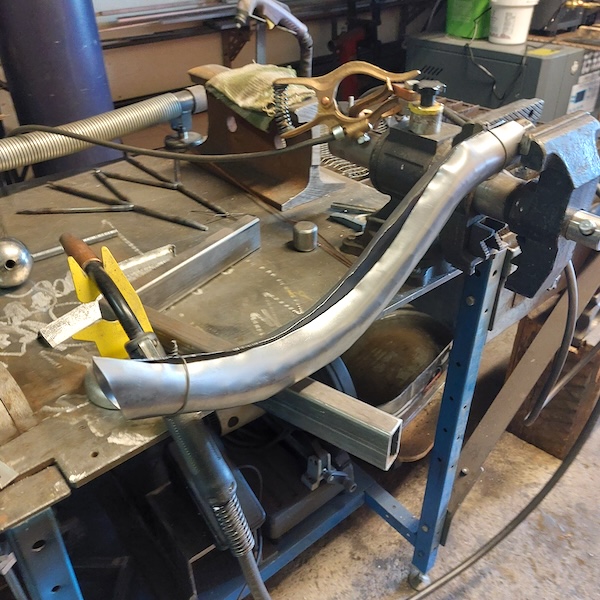
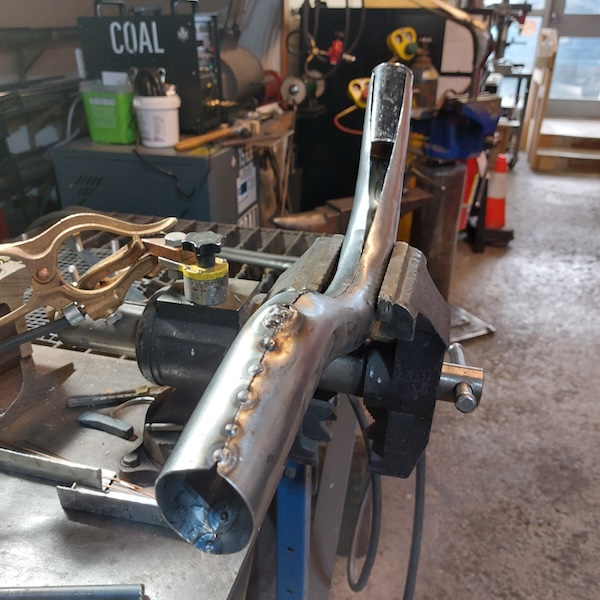
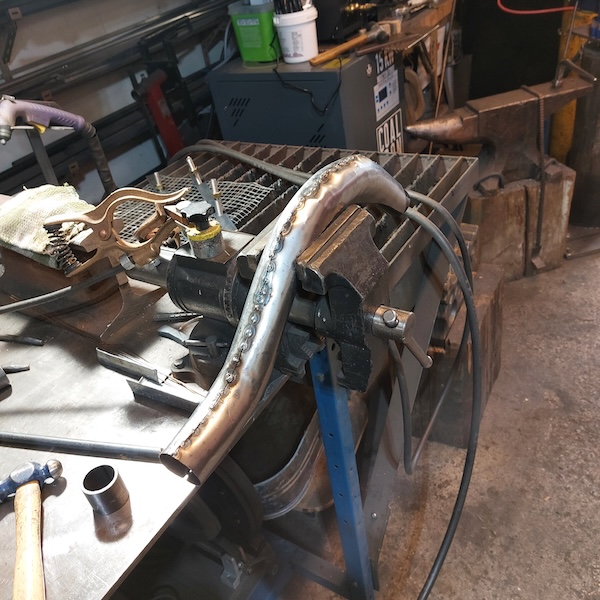
I tried the beak on for size. The neck, which has an S curve, was the biggest challenge. Because the neck holds a plastic hose for the water feature, I had to create a round form instead of a tapered shape. Proportionally, I had to keep within a specific size.
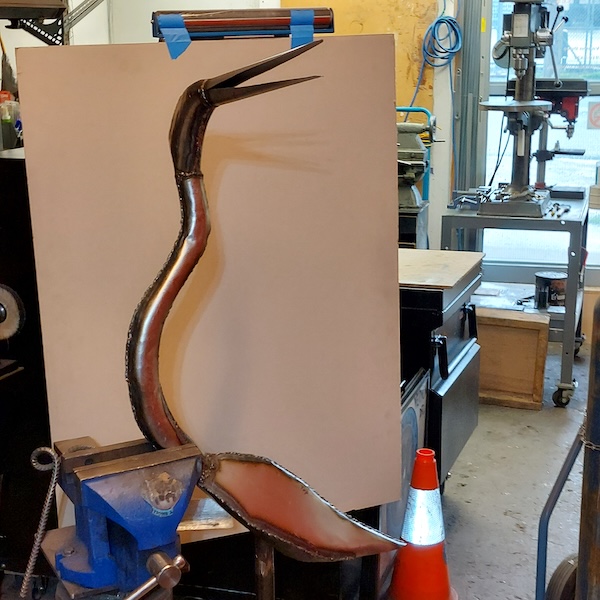
The stork head and beak were finally mated to the S-shaped neck, which was welded to the body. Stuffing the 1.125" PVC hose up to the beak from behind a leg through the body was a huge challenge. I had to heat the hose until it was flexible enough, and I finally ended up with a 0.5-inch PVC hose pipe.
I welded the body and then fitted the neck and head.
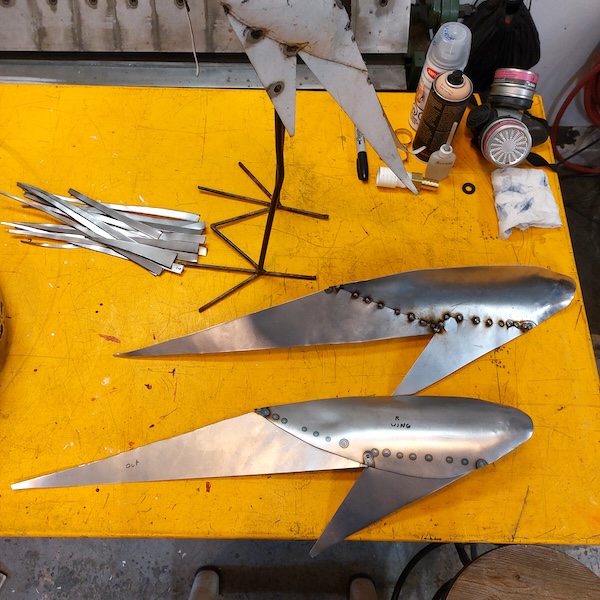
cutting wings and parts
The stork water feature got a few feathers. I added a central tail feather to close the back of the bird and then welded the feet. The length, even though quite tall, was right for the depth of the pond.
In the picture, you can see the welding on the inside, which won't be seen outwardly.
client approval of the head and body Position and the Paint colours
Finally, the stork was ready, and the client approved the head and body position for his fish pond.
The stork got an undercoat and a final coat of paint. The body was to be brown with white wings, and I buffed down the brown colour to make it a less satin and more matte finish.
stone slab and feet anchoring
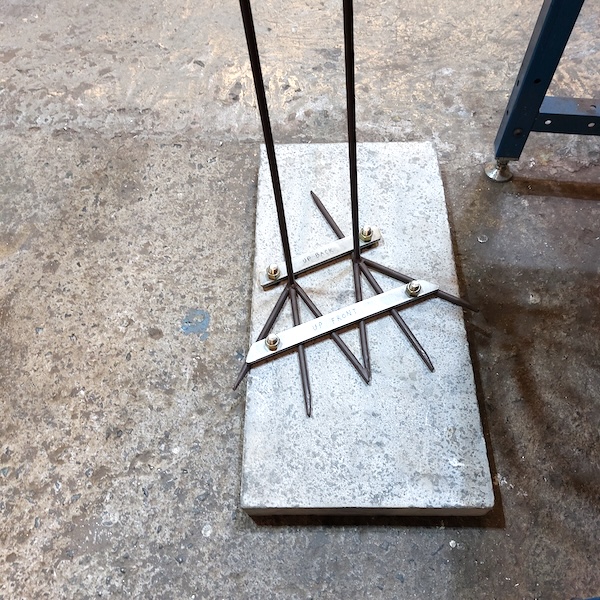
The stork got a stone paver to keep it upright. Though I didn't have the right diamond-tipped coring bits, I got away with carbide concrete drills and a percussion drill.
waterproof controller box and pump
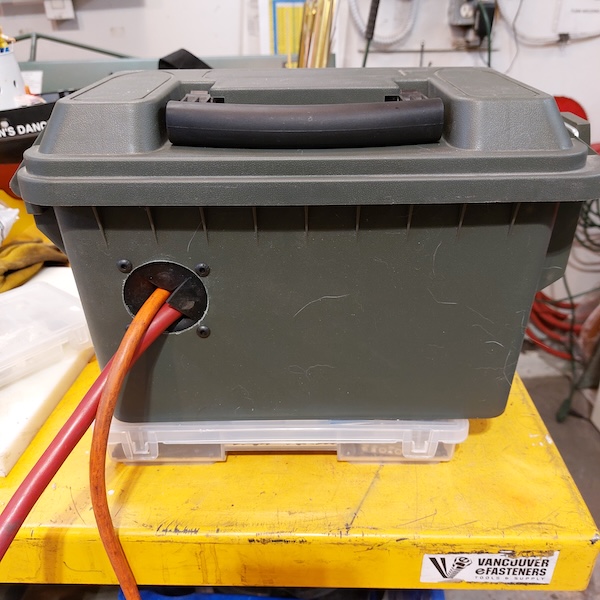
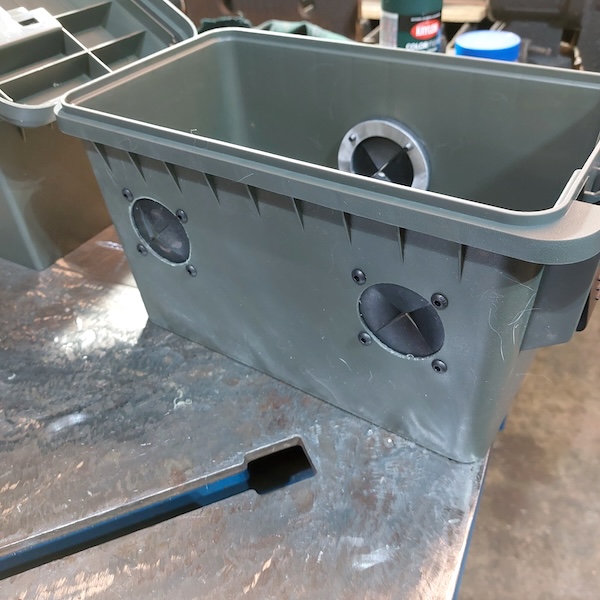
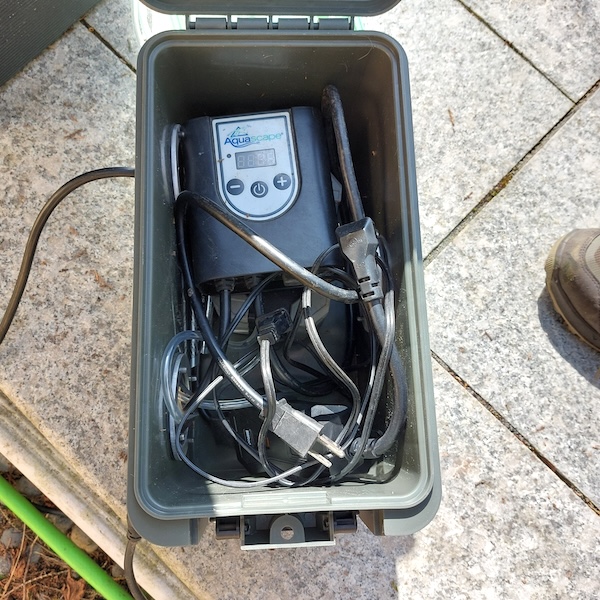
I modified this plastic box, which would hold the cords and gadgets for the Koi pond, by creating diaphragms to weatherproof the box and wrap around the pumps and heater/ circulation cables entering and exiting the box.
installation day
By the installation day, the pond was clean, and a garden expert resolved the pond filter issues.

